This is an old revision of the document!
Voximal Web Configuration
Access
All the configuration is managed throw a web interface based on the FreePBX project. To access to the web interface, open the link
http://your_server_address/admin.
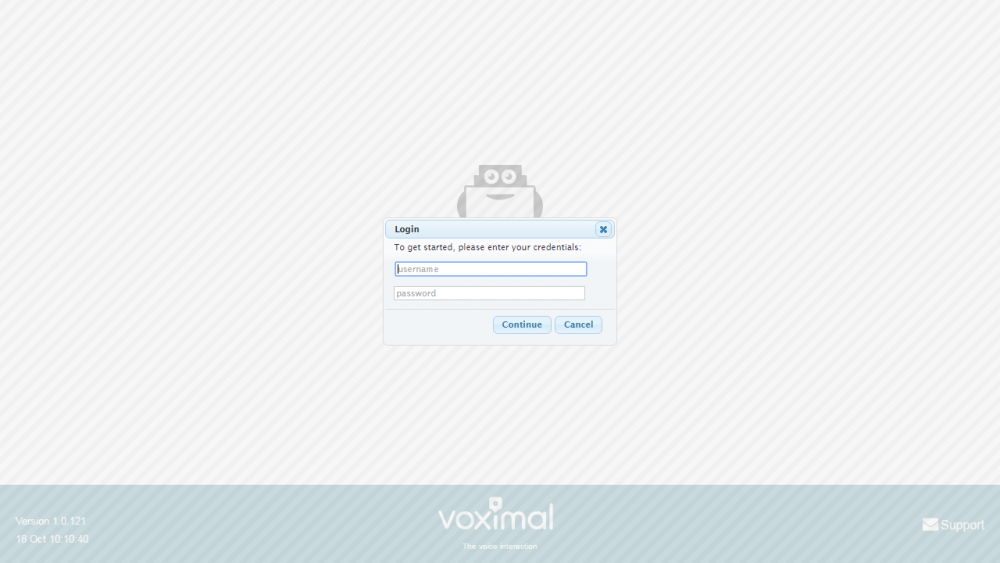
It's protected by a login (the first login after the installation will request you a password).

Login
After installation there are 3 default login accounts, with differents access permissions
- user : access to Voximal configuration and reports.
- admin : user access and network configuration
- root : full access (full freePBX features).
Each login have a default password (requested after the package installation, or the image activation), you can be change them with the root account.
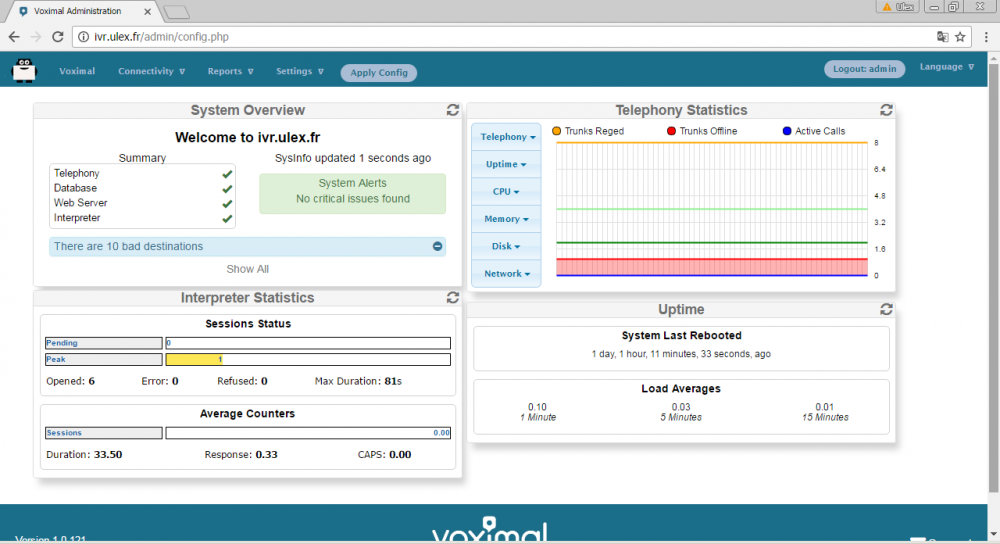
System Status
The home page after login show you the system status.
- Host name of the server
- Summary : Main modules status
- Interpreter statistics
- Telephony statistics
- Uptime / Load average
Main configuration steps
To configure the Voximal IVR you have 4 steps to do :
- Configure the VoIP telephony access (SIP accounts)
- Create/edit a VoiceXML service (Create a VoiceXML service)
- Create Voximal accounts (Voximal accounts)
- Configure the relation between the DID and the VoiceXML service you want to use (Routes configuration)
Note: On each configuration page, don't forget to click on [Submit] button at the bottom page before changing page. If you don't click on [Submit] you'll lose all your changes.
Note: All changes are not directly configure on the server. After one change, you'll see a button [Apply Config] in menu. To activate the changes on server you have to click on [Apply Config].
1) Configure the telephony access
If your server is connected to the internet you can use the free test access to place calls to your server. There is nothing to do. You should only check that the port 4569 is open from/to internet in UDP.
You can create a SIP trunk with an operator with the page Voip Providers. You have to enter informations :
- A trunk name : a string to identify you accounts
- The peers details : enter all trunk informations (host, username, password, type)
host=myprovider.com
username=0033123456789
type=peer
- Register informations : enter registry informations like :
0033123456789:password@myprovider.com/33123456789
- Click on [submit] button (don't remember to apply your modifications)

2) Create a VoiceXML service
You need to create VoiceXML service, by uploading it or writing it directly with the embedded VoiceXML/PHP editor. Select the application menu Voximal.
Uploading VoiceXML service
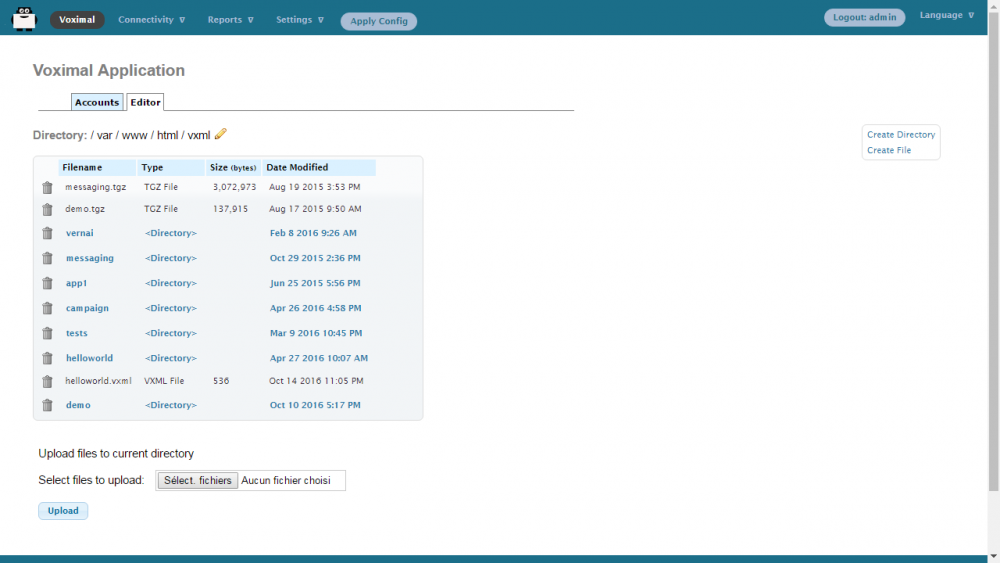
In page Applications/Voximal click on Editor tab. At the end of the page, you have the way to upload files :
- Click on Browse and select your files (.vxml, .php, …).
- Then click on [Upload]. Your files will appear in list.
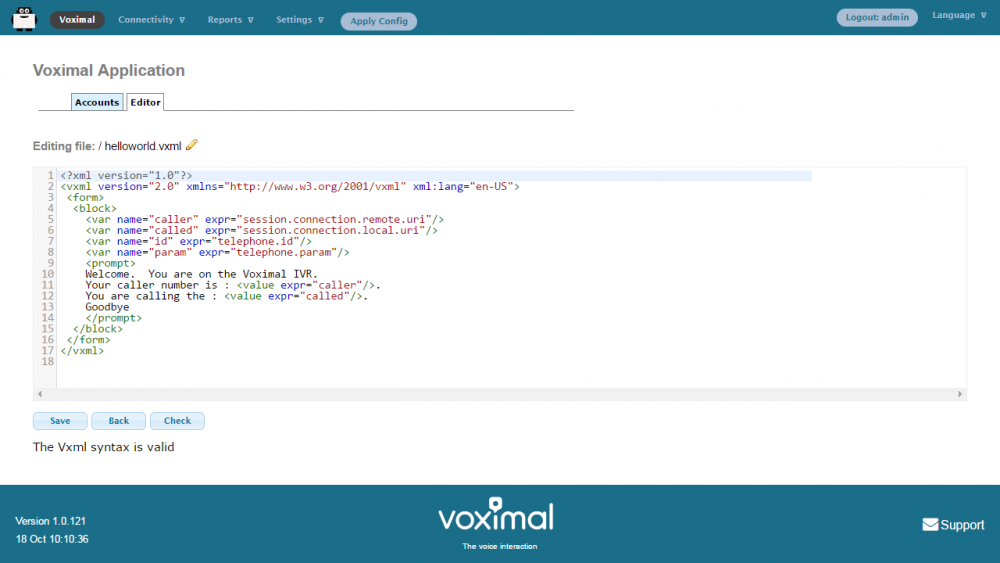
Create VoiceXML service with editor
You can update VoiceXML file (extension .vxml), by clicking on the filename. The file content will appear, and you'll be able to update it, and check the syntax.
The editor page allow to create folders and files, and edit them.
To create folders or files, click on right items on top right corner (Create Directory or Create File).
Then enter filename, and click [Create].
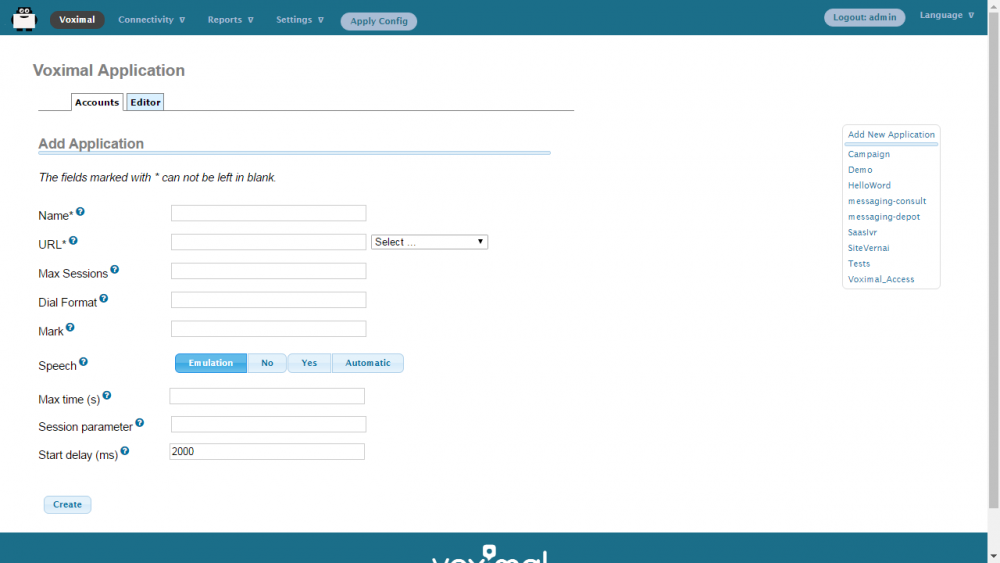
3) Create a Voximal account
When your VoiceXML services is ready, you have to configure it in the server. To do it, add Voximal account. Select the Voximal menu item.
To create a Voximal Account, you have to define in minimum 2 required informations :
- An application name, in field Name
- The VoiceXML url of the service, in field URL. You can select a local one, in the list or writing a local or HTTP one.
There are several options :
- Max sessions : you can define a specific limit, if you want lower maximum session than the license.
- Dial format : you can define a specific dialout format for outgoing calls.
- Mark : you can define a specific mark, that will appear in traces.
- Speech : you can specify the use of the ASR. In case of using ASR server, the better way is to set Automatic choice.
- Max time : you can set a maximum duration of call. If not setted or equals to 0, the duration is unlimited.
- Vxml parameter : you can set a string to pass it to vxml script.
- Start delay : you can set a time delay to start the service.
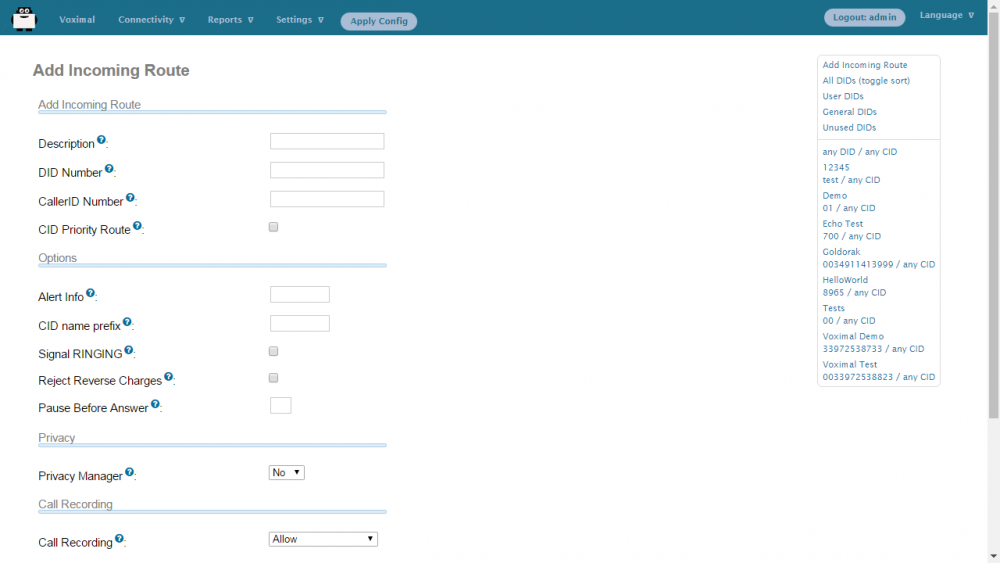
4) Number/Routes configuration
You have to define which application you want to use by default for all incoming calls.
It's done by defining the any DID/any CID or All DIDs settings in Connectivity/Numbers page.
- Select All DIDs item (on top right corner)
- Leave empty Field DID Number
- Select the application to use : Voximal Application
- You can select an existing application
- Or create a new one by clicking “Add new Voximal application”
- Click on [submit] button.
Configuration files
- /etc/voximald.conf (not modify this file)
- /etc/asterisk/voximal.conf (not modify directly this file)